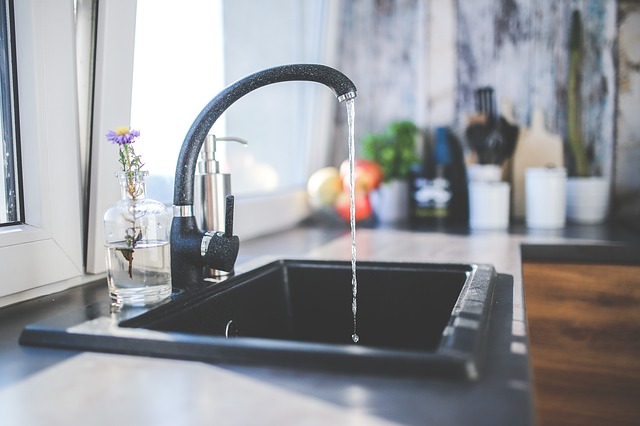
How to fix a leaking tap
When it comes to a leaking tap in your home or office, it can become a real nuisance, real quick. From the noise to the waste of water (and everything else a leaking tap offers), it becomes almost impossible to ignore, so it’s best to address them sooner rather than later (and your wallet will also appreciate it when your next water bill arrives).
But, how do you fix a leaking tap?
If you know what you are doing it is quite an easy exercise, however, if you complete the job without instructions or any idea, it can become quite messy and a little unruly (and cost you even more money than before).
Always consider this when thinking about doing some DIY plumbing projects – we do not recommend trying many, if any things yourself, and you should contact a plumber for professional help – if in doubt, it is better to call a plumber before, not after you try some DIY.
So, if you are still reading, it sounds like you’ve decided to give the DIY route a go when it comes to fixing your leaking tap. Before you start, let’s take a look at a couple of reasons why your tap may be leaking.
A large amount of water around can be lost due to leaking pipes and dripping taps. One slowly dripping tap can waste 9,000 litres of water a year!
You’re in Safe Hands with our Master Plumbers.
Local, experienced and certified.
Call 1300 054 488 or
Book Online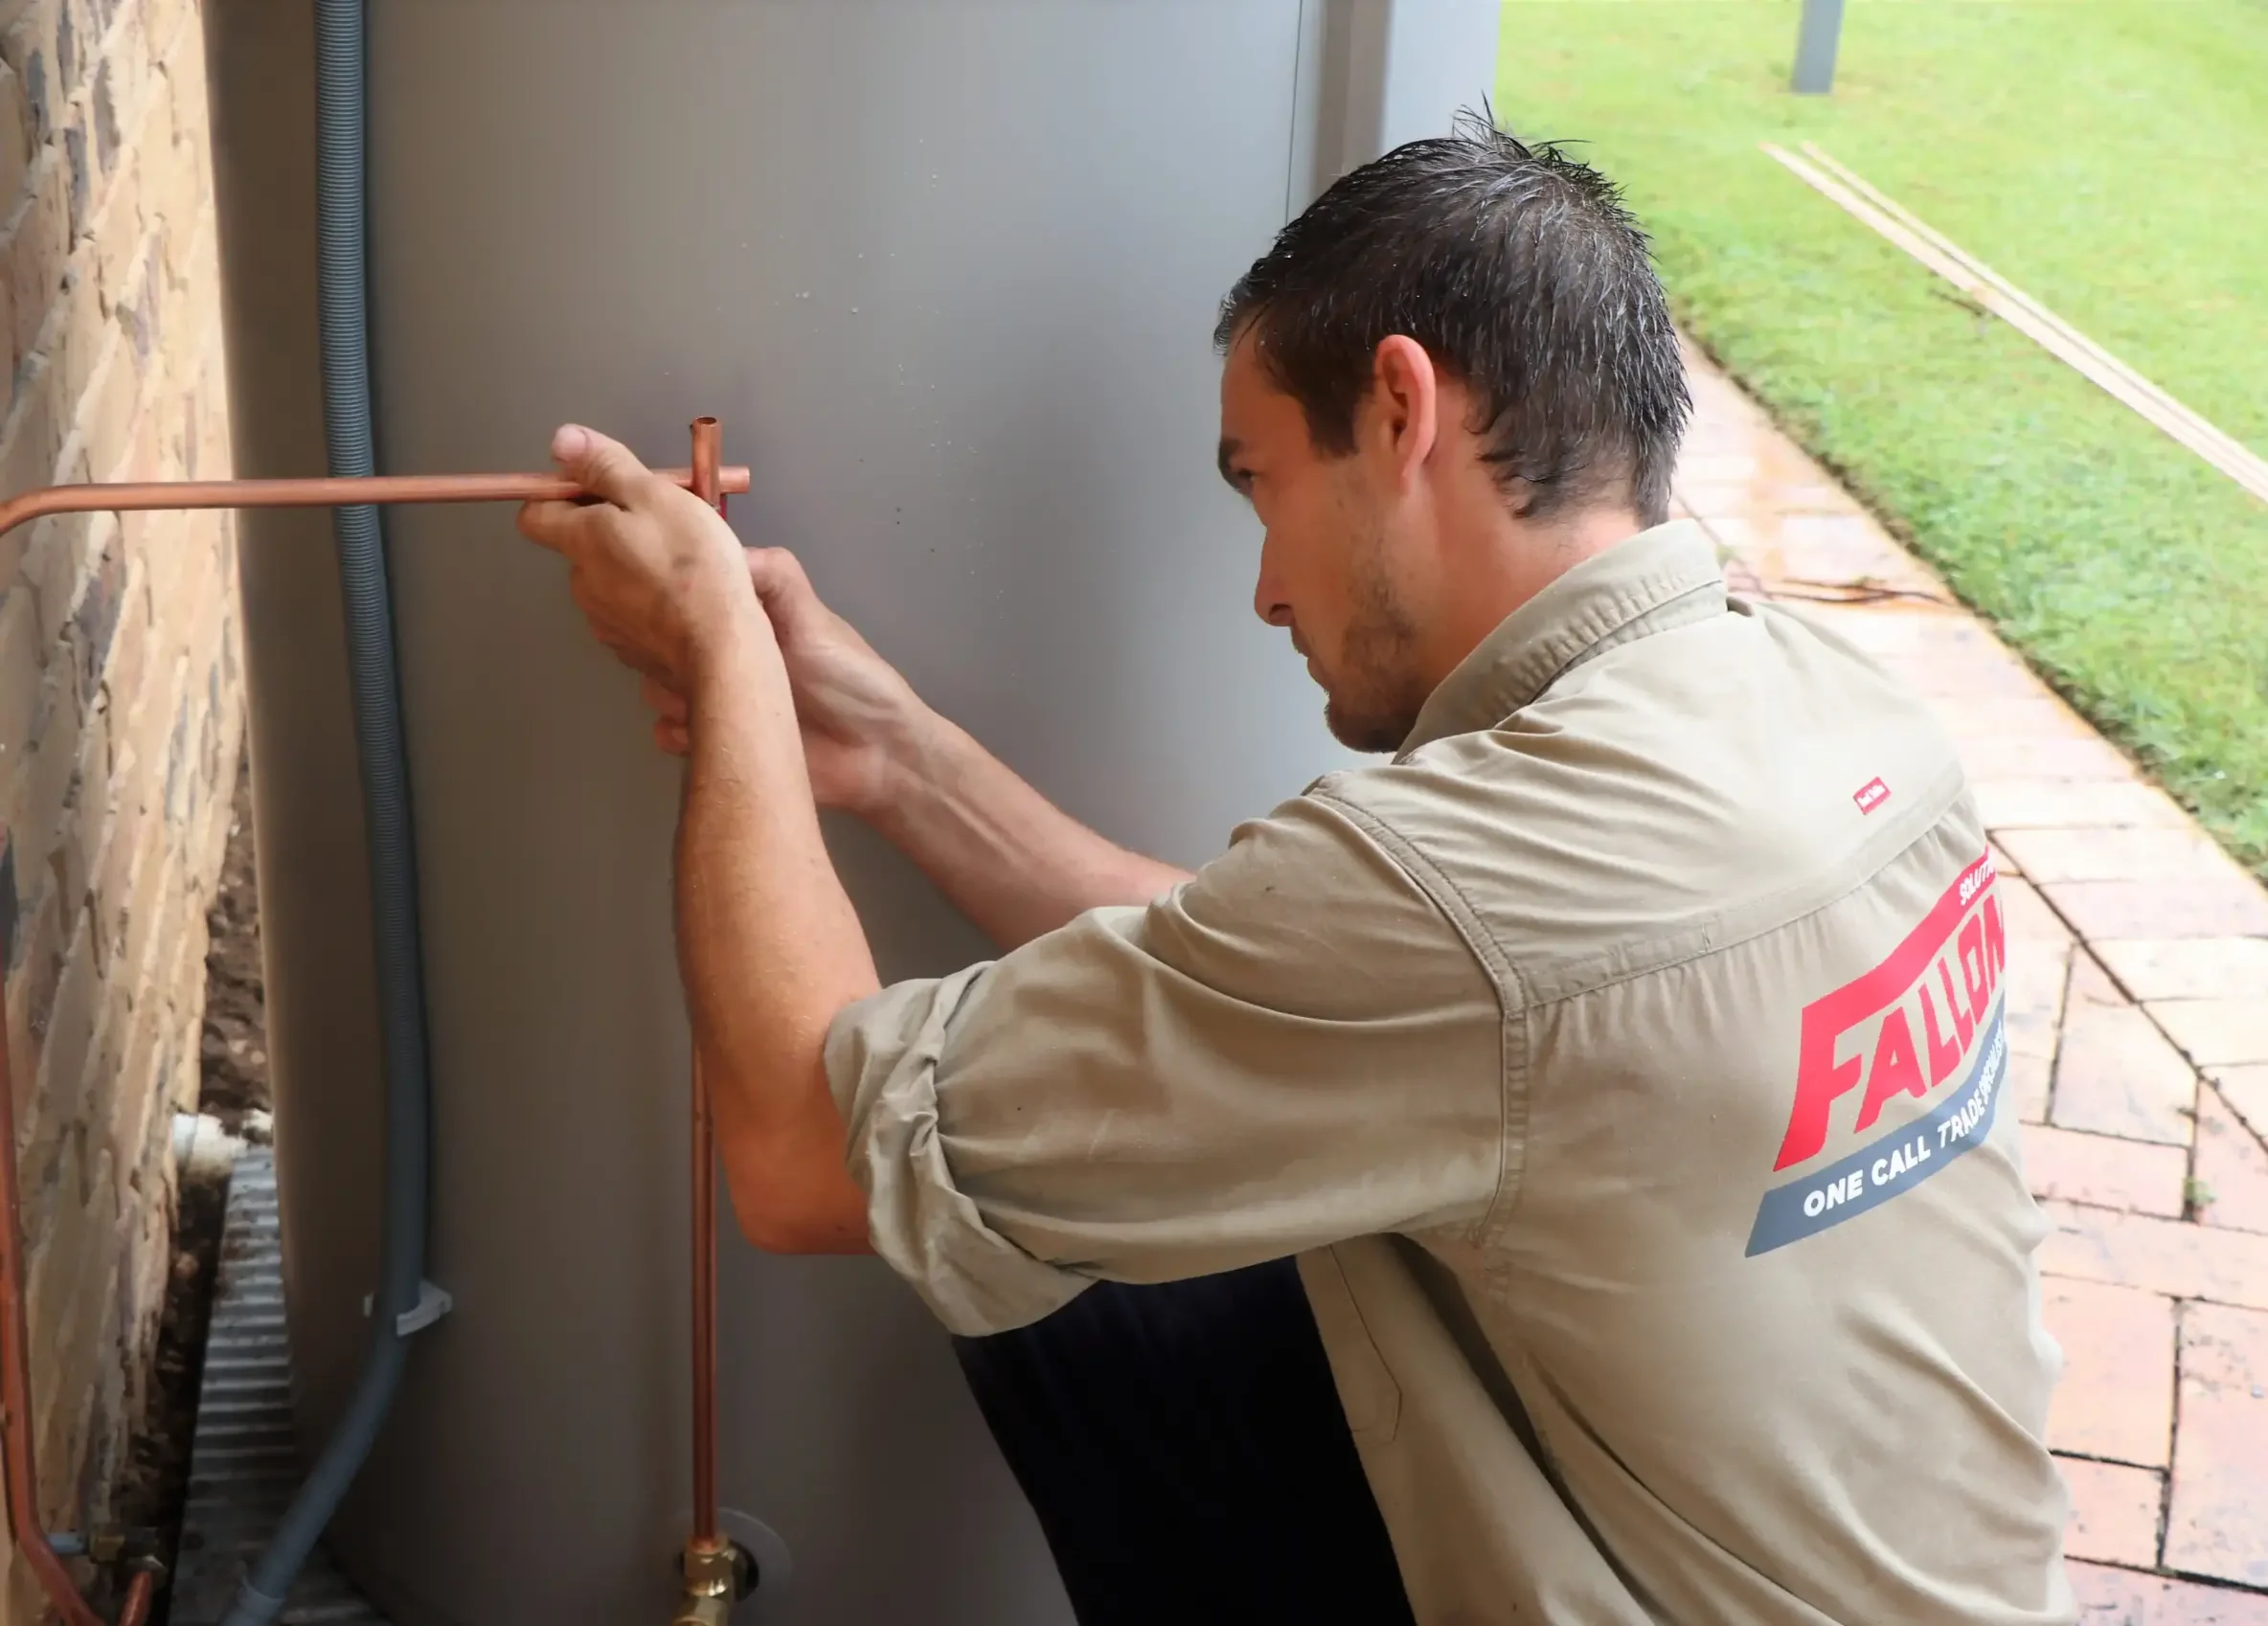
For all your electrical and plumbing needs, call us on 1300 054 488.
What is causing my leaking tap?
If you are finding that one of the taps in your home or workplace is leaking, there can be a few reasons why this can occur:
- The tap washer is the incorrect size
- The washer on the tap is broken or has worn out
- The jumper valve is worn out
- The valve seating has been damaged or has corroded
- The tap washer has been installed incorrectly previously
- The O-ring has worn out or has become loose in some way
It is worth knowing what types of parts your tap is equipped with – generally, most taps have either ceramic or rubber parts – to stop the water flow when the tap is off. The way to figure out what parts you have is quite simple – if your tap turns around between 1/4 and 1/2 when it turned, it is likely equipped with a ceramic disc sealant. If you find that your tap turns further than 1/2, it’s likely that it has a rubber washer as a sealant.
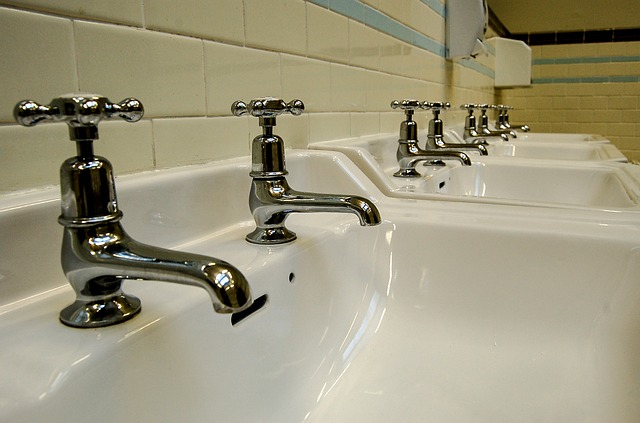
The different kinds of leaking tap
This may seem like a little bit of a strange one, but there are actually two different major kinds of leaking taps (even though they are all classed as ‘annoying’). This includes :
- The O-ring: If a leaking tap is caused by the O-ring, water will be leaking from the body and spindle when you turn the tap on, or water will be coming out of the cover plate.
- The Washer: If the washer is causing a leaking tap, your tap will likely be dripping, even when the tap is turned off.
The most common cause of a leaking tap is a broken washer, which can be fixed yourself if you follow the below steps, but enlist the help of your local plumber if you have any doubts, or believe there are other plumbing issues going on than just a leaking tap.
How to fix a leaking tap
This is likely the section you came to this page for, so we’d better get to it. We have put together a generalised set of steps to help you fix a leaking tap in your home or office. First things first though, you’ll need the following tools and supplies to ensure you complete the job.
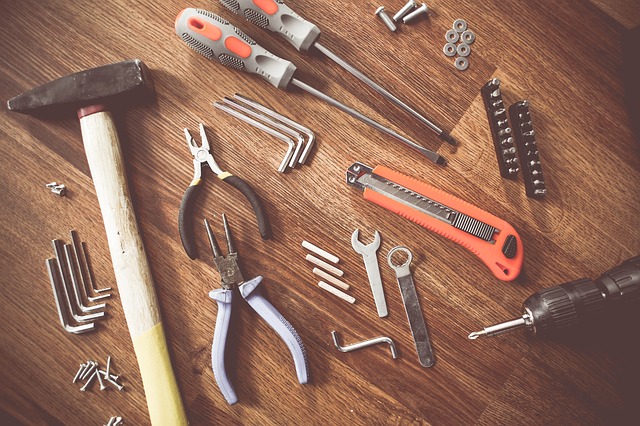
Leaking tap tools and supplies
- Jumper valves
- An O-ring
- Washers of the correct size
- A set of spanners (or a shifting wrench)
- A screwdriver
- Pliers
- Tweezers
- Some gaffer tape
- A cloth
You may also need some silicone or a resealing kit, but this depends on the type of tap you have.
Preparing your leaking tap
It may seem a little odd, but you have to ‘prep’ your leaking tap before you start fixing it. This includes :
- Turning off the main water supply. If you are unsure as to where your water main is, as a general rule, if you live in a house your water main is usually in your front yard, and if you live in an apartment, it is usually located in your laundry or bathroom.
- Turn on your leaking tap after turning the water supply off, and let all the residual water left in the pipe drain out. If you have done this and you are worried there may be water still left in the drain, turn on a tap at a lower level (such as one in your garden), which should help the process if necessary.
Now to repair your leaking tap
Step 1. Plug
This step may sound simple, but you would be amazed at how many people forget to plug their sink or basin! This step ensures you don’t lose anything down the drain, which can be a huge nuisance and add extra time and frustration to the job.
Step 2. Tap Button
After you have plugged your basin properly, it is now time to remove your tap button. Your tap button is the part that says ‘hot’ or ‘cold’ on it and will need to be removed from the top of your tap. If you are finding it a little tricky, you may need a screwdriver to help you along.
Step 3. Handle
After the tap button has been removed, you need to expose the inside of the tap to continue the process. How this is done will depend on the type of tap you have, but you will likely need to remove the tap handle so you can see the tap’s insides. The tap handle will need unscrewing, which may need a little help from a wrench or spanner.
Step 4. Tap Skirt
After the handle has been removed, if your tap has a shroud or skirt (which is usually made of metal), this will need removing too. Some sealants make this step a little difficult, so enlist the help of a wrench or a pair of pliers to unscrew. Also, to avoid scratching your tap, before beginning this step wrap some gaffa tape around it, followed by a cloth, to help you along.
Step 5. Tap Bonnet
It is now time to remove the body of the tap, so you can get to the washer and jumper valve. Grab a spanner to help you remove the tap bonnet, and once remove, put it in a safe spot until later.
Step 6. Washer & Jumper Valve
Once you have completed the first 5 steps, you should be able to see into your tap and locate the washer and jumper valve. If you can’t seem to see your jumper valve, do not worry – it could have got caught up with your tap bonnet when you removed it. As long as you know where it is! You need to remove the jumper valve and washer, which may need you to grab a pair of tweezers or some needle-nose pliers to get them.
Step 7. Washer Replacement
Once you have grabbed out your washer and jumper valves, take them to your local hardware store and buy some replacements for any broken parts. For reference, the size of washers in homes is usually 12mm, however, they can get up to 15mm or larger in some situations. Additionally, it is probably worth grabbing some skirt sealant while you are there (to stop mould build-up in the future!).
Step 8. Washer
Once you have found the correct sized washer, place the jumper valve and new washer back inside your tap.
Step 9. Tap Reinstatement
Now it’s time to put your tap back together. Ensure the jumper valve and washer are in the correct spot, then follow with the tap bonnet and use your wrench/spanner to tighten it. Do not use silicone as a sealant in this step – this is to be left until the very end, to ensure the tap is actually fixed before you seal it up!
Step 10. Main Water Supply
Turn your tap off completely, then turn your water main back on – make sure you don’t turn your tap off too tightly though.
Step 11. Test
It’s finally time to test your tap! Turn it on and see if the leak is still occurring… hopefully, it has been fixed. If it’s fixed, remove both the skirt and handle and put some silicone on the skirt base as a sealant. Be super careful though, as silicone can get very messy if you’re not really careful.
If you give the above steps a go and you are still finding your tap is leaking, this could be the sign of another, bigger plumbing issue. We, therefore, suggest you get in contact with your local plumber as soon as possible, and they can come out and take a look for you.
Your local and reliable leaking tap experts
If you have any questions regarding fixing a leaking tap, or would like one of our trained plumbers to come out and take a look, give Fallon Solutions a call on 1300 762 260 or Book Online now. We are specialists when it comes to all your plumbing problems, so get in contact today!
Resources :
Queensland Government (Saving water at home): https://www.qld.gov.au/environment
Gold Coast Government (Water leaks): https://www.goldcoast.qld.gov.au/Services/Water-sewerage/Water-supply/Water-leaks
Victorian Government (Sustainable Living Guide): http://www.whitehorse.vic.gov.au/IgnitionSuite/uploads/docs/Sustainable%20Living%20Guide%20Water.pdf